


 Tweet
Tweet
Re: Mike's Cabrio Build
This will be a lengthy one, and is probably the most satisfying part of my build for me:
The Dash: Part 1
Like so many builders I guess the choice of dash layout and style causes as much thought provoking as the final colour of your car!
I had some basic ideas of what I wanted. It would be a wooden dash, and I liked the old Triumph Vitesse gauges with the V - bezels. I also felt that the straight line across the bottom of the standard Cabrio dash was at odds with all the curves in the Cabrio.
After trying 33 different layouts (literally) I found I was gravitating to this layout:
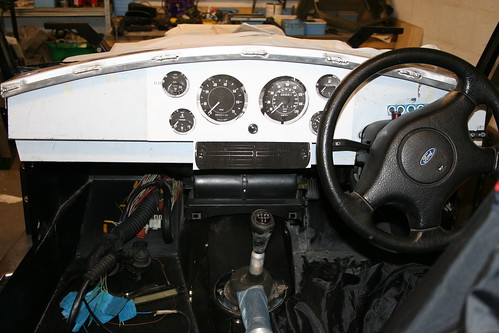
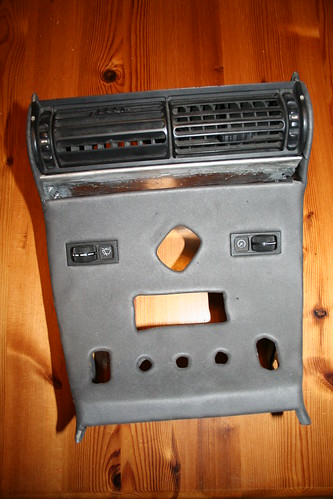
I had seen Simon Gregory make use of the centre vent from his 5 series BMW donor and connect it to the Sierra's centre outlet. The BMW vent ios a little ddeper than the depth of the Cabrio's lower section but can be squeezed in.
However, this left the long straight edge across the bottom of the main dash which I preferred no to see.

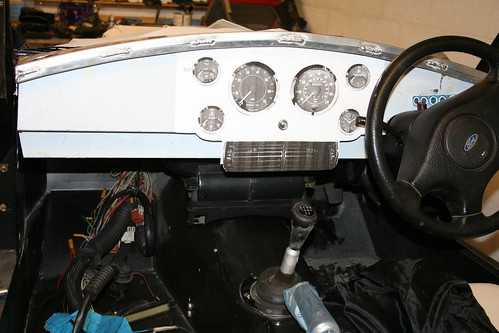
I preferred the look of lowering the central section. But this would mean making a special housing for the vent..................but it had to be done!
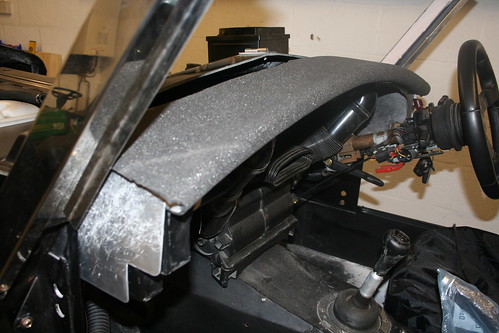
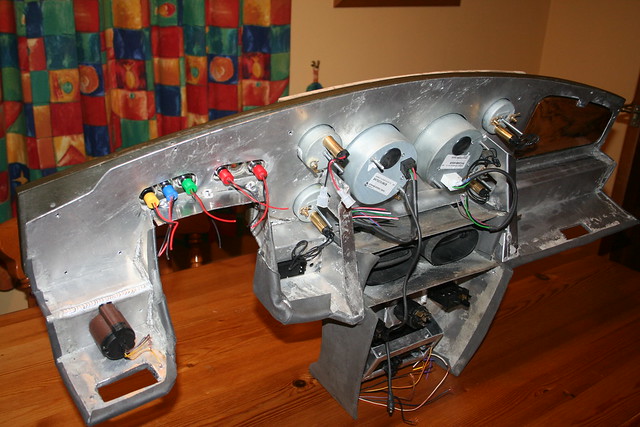
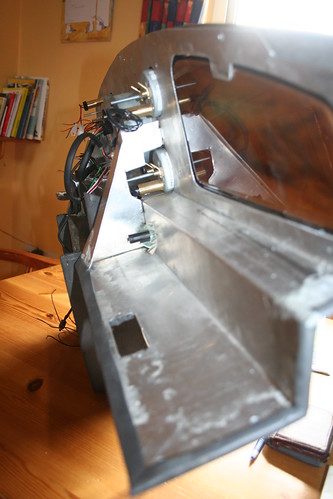
Whilst I was experimenting with dash layouts, I did manage to make myself much improved upper dash.
Obviously IVA requirements for large radiuses were important, and the looks and feel matter too.
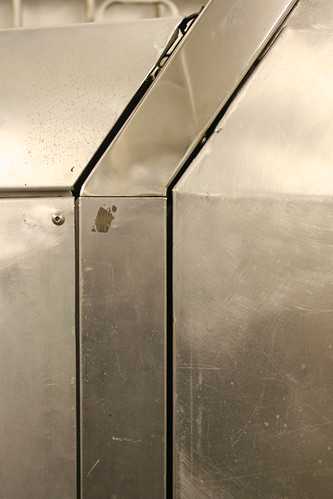
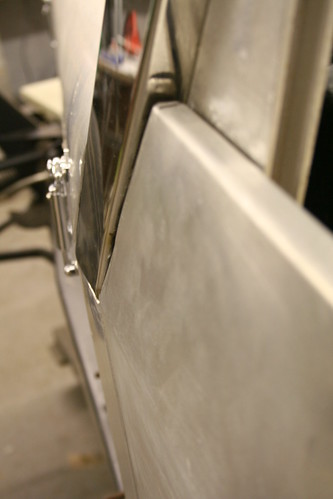
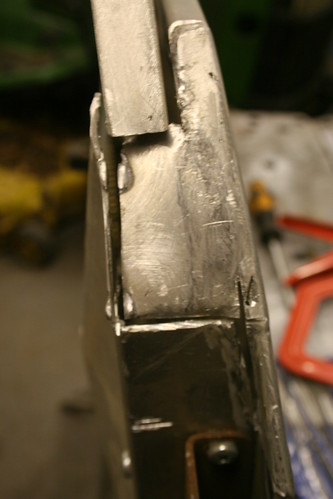
Firstly I welded on ally end plates to the standard dash as this produces a much neater finish when it is leathered up.

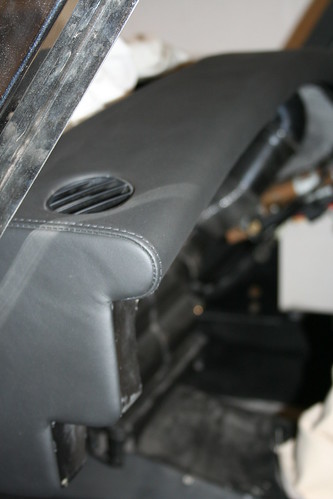
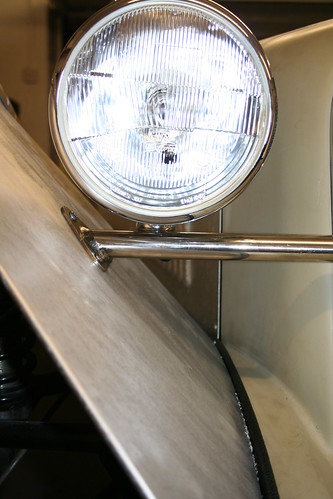
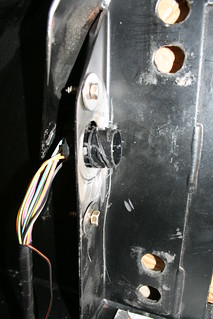
I also added side window vent holes, for vents found in an early Audi A4.
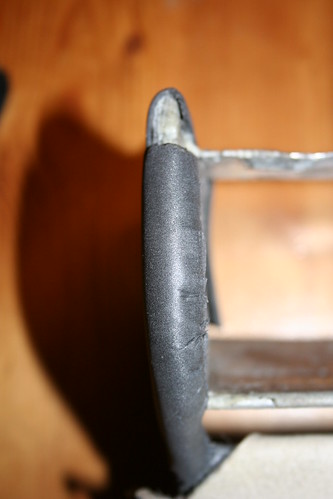
I found a soft rubber profile at Woolies which within its overall profile had a perfect D section to fit the front face of the top of my dash. So I cut the surplus off, to leave just a D, and glued it on.
I then glued a dense foam sheet to the ally dash.
I then had it covered in black leather:
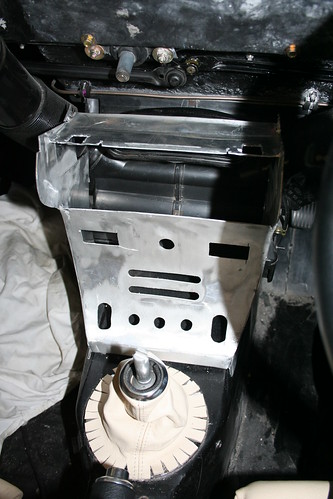
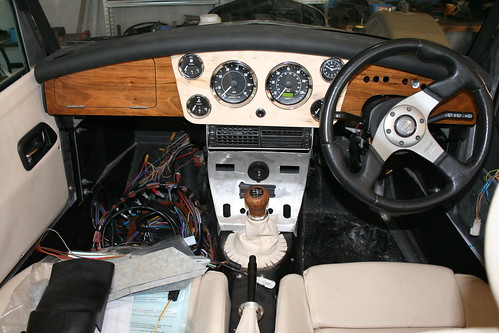
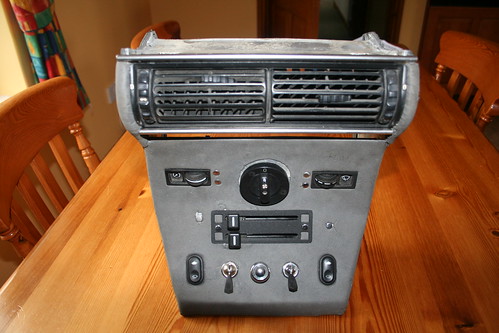
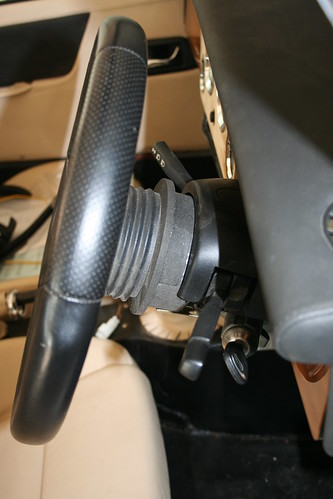
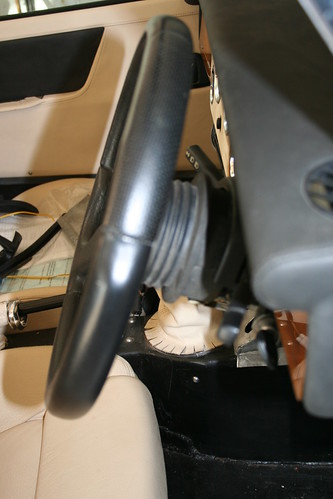
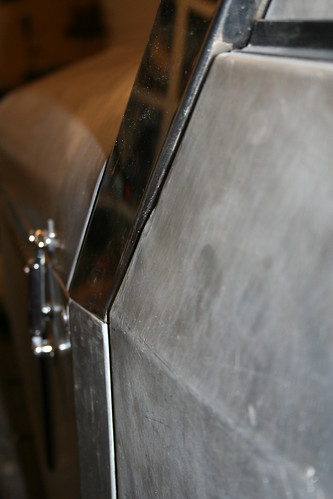
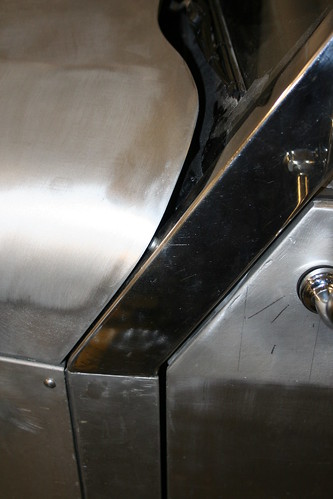
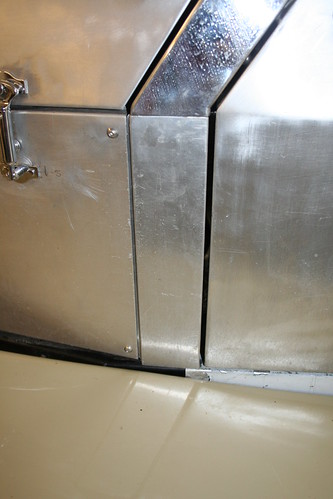
In order to include the % series vent, and change the lower dash line I needed to make an ally box to support it. This grew and grew until I had created a complete centre console!
Again I have made this curve both in the front face, and the sides.
IVA is always at the back of my mind as I come up with variations and improvements, but one problem I had was I wanted the V bezels on my guages, yet I know they will fail IVA. I could have recessed them into my dash, but that's not what I wanted, so I have come up with a cunning plan.............

I have made an additional gash dash centre section out of 6mm ply which I will position over the main dials
so that they will effectively be flush with the front of this dash section. It will become clearer later....
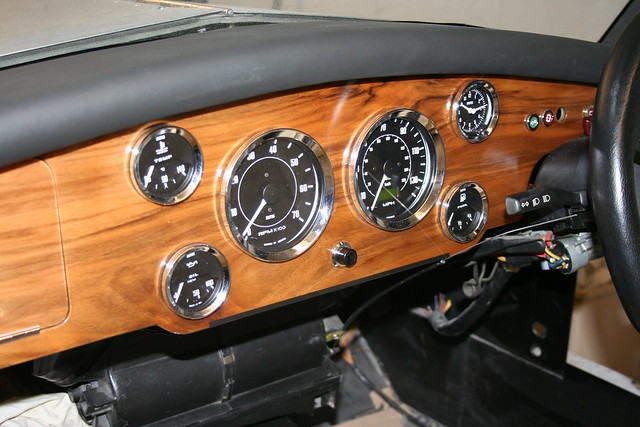
This is the main dash - it looks fabulous - its so shiny it is difficult to take a good photo due to all the reflections!
Obviously this will fail IVA, so you can see why I've had to fit the additional gash dash...........
This will be a lengthy one, and is probably the most satisfying part of my build for me:
The Dash: Part 1
Like so many builders I guess the choice of dash layout and style causes as much thought provoking as the final colour of your car!
I had some basic ideas of what I wanted. It would be a wooden dash, and I liked the old Triumph Vitesse gauges with the V - bezels. I also felt that the straight line across the bottom of the standard Cabrio dash was at odds with all the curves in the Cabrio.
After trying 33 different layouts (literally) I found I was gravitating to this layout:
I had seen Simon Gregory make use of the centre vent from his 5 series BMW donor and connect it to the Sierra's centre outlet. The BMW vent ios a little ddeper than the depth of the Cabrio's lower section but can be squeezed in.
However, this left the long straight edge across the bottom of the main dash which I preferred no to see.
I preferred the look of lowering the central section. But this would mean making a special housing for the vent..................but it had to be done!
Whilst I was experimenting with dash layouts, I did manage to make myself much improved upper dash.
Obviously IVA requirements for large radiuses were important, and the looks and feel matter too.
Firstly I welded on ally end plates to the standard dash as this produces a much neater finish when it is leathered up.
I also added side window vent holes, for vents found in an early Audi A4.
I found a soft rubber profile at Woolies which within its overall profile had a perfect D section to fit the front face of the top of my dash. So I cut the surplus off, to leave just a D, and glued it on.
I then glued a dense foam sheet to the ally dash.
I then had it covered in black leather:
In order to include the % series vent, and change the lower dash line I needed to make an ally box to support it. This grew and grew until I had created a complete centre console!
Again I have made this curve both in the front face, and the sides.
IVA is always at the back of my mind as I come up with variations and improvements, but one problem I had was I wanted the V bezels on my guages, yet I know they will fail IVA. I could have recessed them into my dash, but that's not what I wanted, so I have come up with a cunning plan.............
I have made an additional gash dash centre section out of 6mm ply which I will position over the main dials
so that they will effectively be flush with the front of this dash section. It will become clearer later....
This is the main dash - it looks fabulous - its so shiny it is difficult to take a good photo due to all the reflections!
Obviously this will fail IVA, so you can see why I've had to fit the additional gash dash...........


Comment