


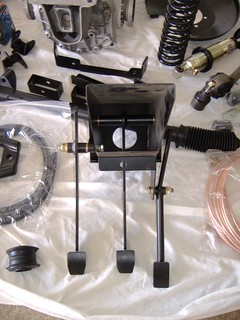
If possible, I wanted to retain the seat back adjuster knob. The problem was that even if I could make the floor well wide enough the knob was going to be below the top of the transmission tunnel.
OK, so lower the tunnel as well.............
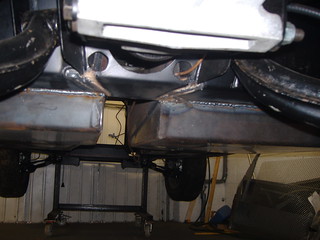
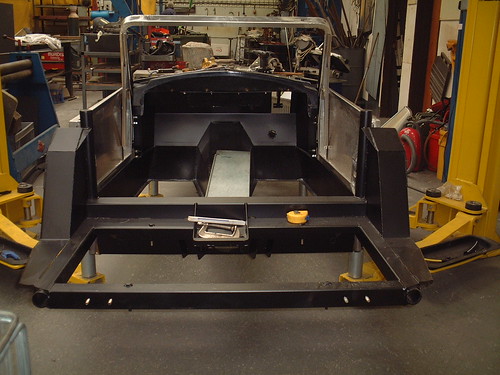
Original transmission tunnel removed in the centre, narrowed and lowered from the gearstick to the back cross member.
This is making the tunnel very tight both in width and in height. It means I can not tolerate much prop-shaft movement from it's centre line, either side to side, or up and down.
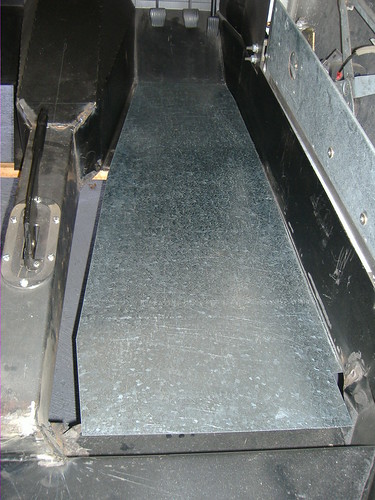
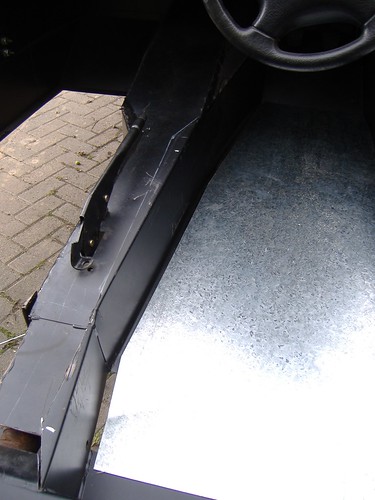
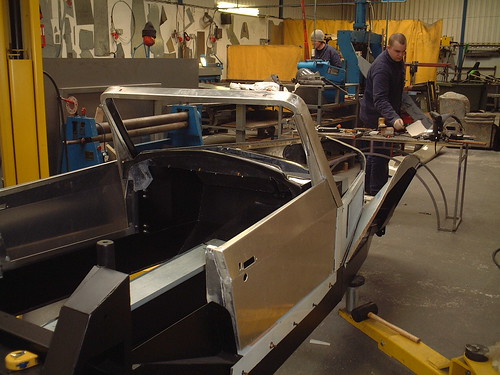
This shot shows the new tunnel tacked in place: the old thin gauge galvanised floor illustrates the additional width I will gain. Although the tunnel is straight, the chassis side member funnels in towards the front. My seat will fit, but forward adjustment will ultimately be limited by the narrowing width : at this stage I do not know exactly where that will be!
At this stage I also decided my welding skills with a stick welder were not good enough!
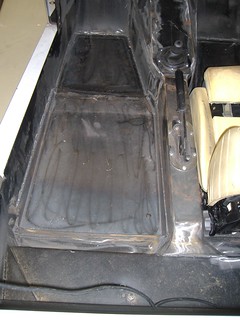
The very observant will have noticed I have completely ground away the seat belt anchor point open the drivers side rear corner. The Audi seats have the seat belt anchor point attached to the runners, so they move for and aft as the seat is adjusted, and I needed the width to allow my seat to go back the maximum distance possible.
When I built my Roadster Marlin sold seat recess pans. Obviously using a conventional seat like the Audi's was going to lift the seat base, so I decide to make my own recesses. At this point I had been a mile down the road to our local fabrication engineers, and this opened up the scope to make a much better finished car.
I made some sketches up of a recessed floor pan, and detailed all the dimensions. It was then fun to go to the workshop, and guide one of their guys through cropping the 2mm plate, and then folding it in a huge press, into giant baking tray styled pans.
Once I was sure they would fit I took the complete chassis, (on the front of an agricultural forklift! - my father is a farmer) back to the workshop to get it fully welded.
And whilst at it, I had all the seams fully welded as Marlin only stitch weld the Cabrio tunnel, which was bound to cause rust and leak problems in the future.
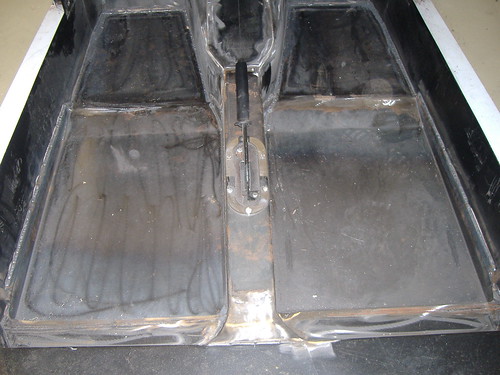
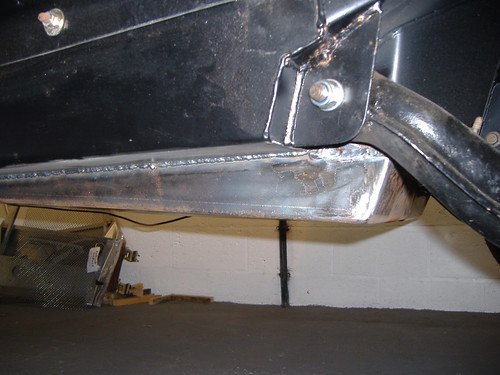
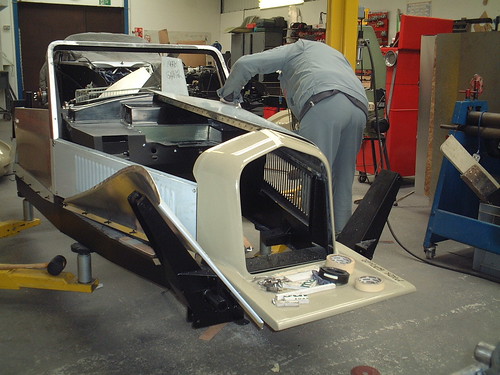
And this was the result:
They made a fabulous job. Their welding is so neat and clean (MIG or TIG?) that it did not require cleaning, and with 2mm plate it is infinitely stronger than the Marlin supplied thin gauge galvanised sheet which they recommend pop riveting in.
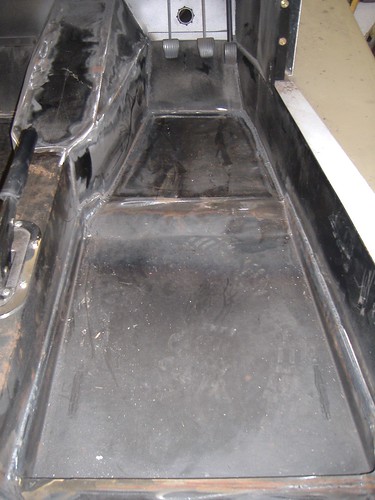
The foot well is a piece of flat plate. The seat well I designed to be recessed 25mm at the front, and 60mm at the rear. These dimensions were all theoretical calculations at this stage, but if it worked out, it would be as low as I wanted with the seat right back, and rise for a shorter person as the seat came forward. Well, that's the theory.....?!
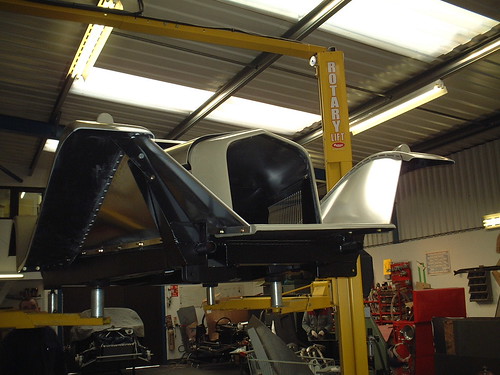
This shows the recess projecting below the chassis rails. I know it will reduce ground clearance, but I reckoned at 60mm it would be less than many Cabrio under floor exhausts.
More importantly lowering the seats means it will pass the SVA rule that the seat belt must not come into contact with the seat back, unless it is designed to accept the loads that will result. The Audi seats were not designed for any upper loading so it was important to get the heights right.
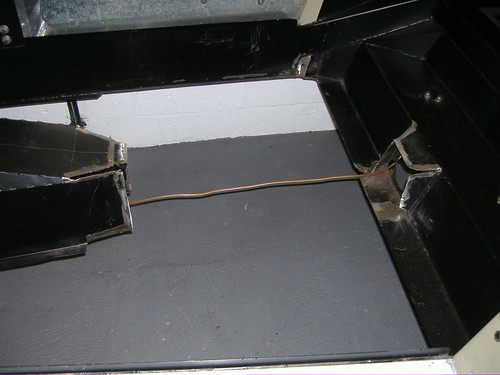
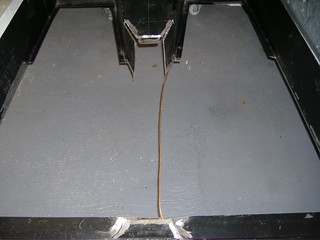
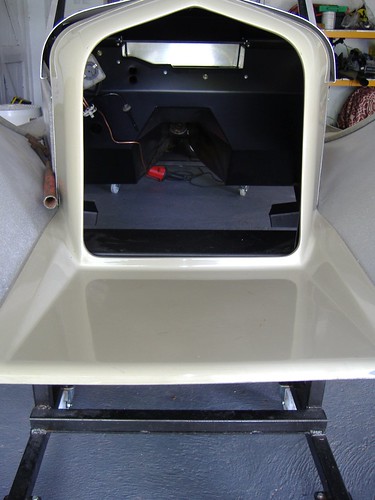
This is a view down the transmission tunnel from the rear - - there is not much room for a prop-shaft and exhaust!
It is still a tight fit! Even at this stage I was not certain the seat could be positioned to allow it to slide on its runners!
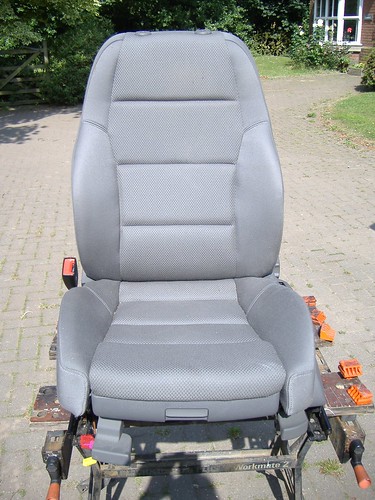
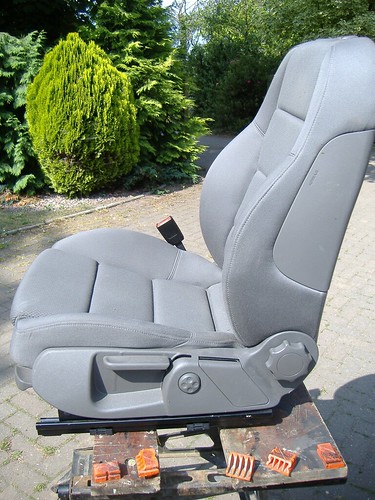
Both seats offered up.........

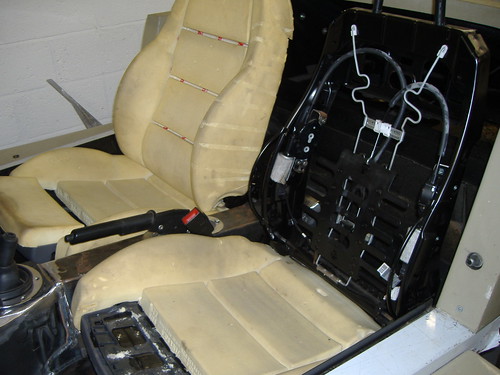
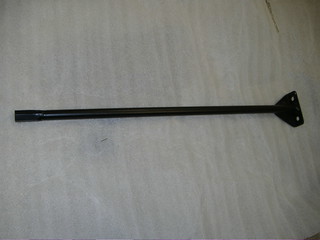
The seat frame and padding have remained totally standard - I will leather over the side air bag panel to hide it. The only conversion necessary was to alter the seat runners as one of them is outside the width of the seat base, and the knob to adjust the seat back rake has to be trimmed down to fit the width availabe. The squab and back are completely standard.
Visible are the motors to adjust the lumber support.
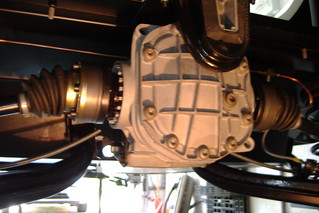
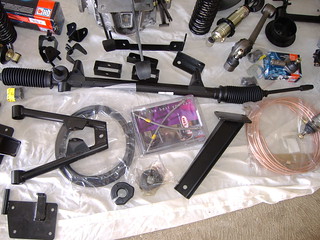
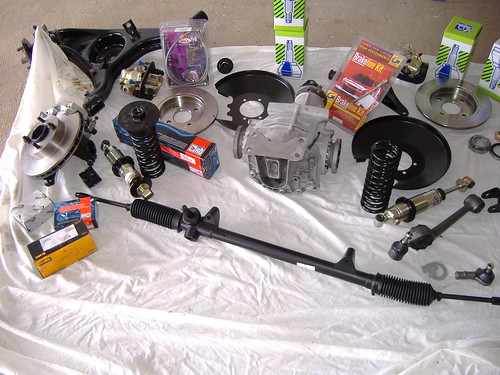
To determine whether all this worked I had to install the diff, and prop shaft to see what the real clearances were:
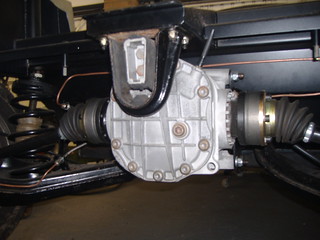
These are the notes I made at the time:
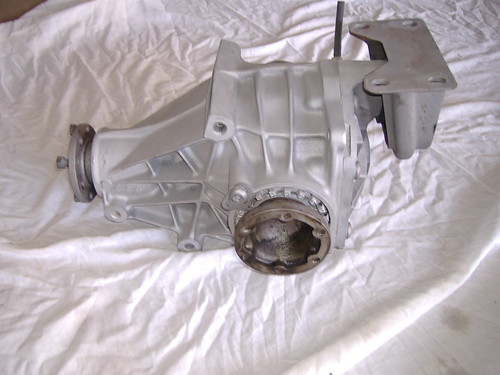
Standard 3.62 diff sand blasted clean, and new joints fitted. The diff did not line up with the holes Marlin suggested, but you go with your own intuition to centralise the prop. I had to be very accurate with the centre as I've narrowed my transmission tunnel down to only 90mm internally.
I would like to fit a 3.14 diff, but these are very hard to find: I may well settle for a 3.38 and have a 5% higher profile tyre.
Edit Jan 2012
I only came across one 3.14 diff for sale in two years and it made over £350 on ebay! I eventually found an early 3.38 diff in very good order for less than £100, cleaned and new seals fitted.
I have since added 215/55/16 tyres and rims, which are very close to providing the original gearing of the donor BMW.


Leave a comment: