Originally posted by listerjp2
View Post
Don't look to shabby.
Adrian
If this is your first visit, be sure to look in the introductory information by clicking on this link: FAQ . You may have to join as a member before you can post. To start viewing messages, select the forum that you want to visit from the selection below.
If you have questions please use the Contact Page for a personal response
If you wish to contribute to our discussions then please consider joining the club - it costs only £24 per year and is worth every penny!


 chassis_painted1 by Robin Martin, on Flickr
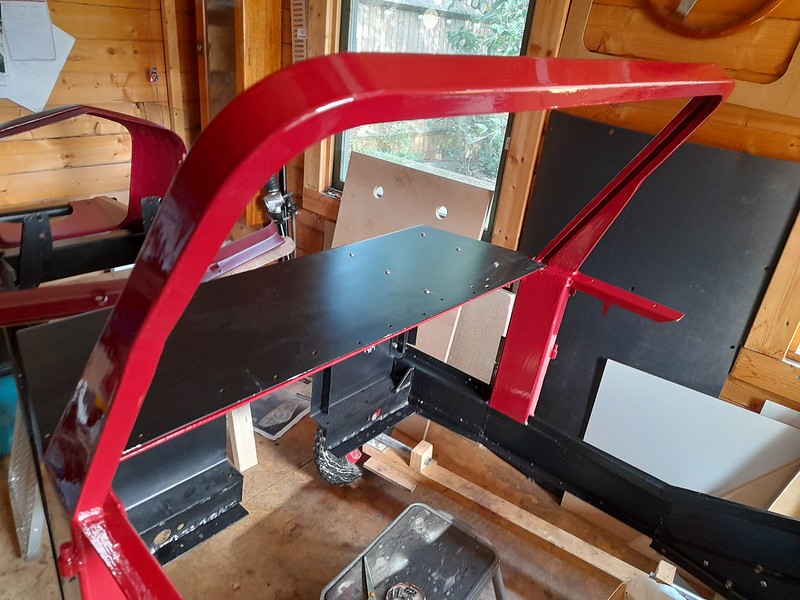 chassis_painted2 by Robin Martin, on Flickr
 new_grill by Robin Martin, on Flickr
 rear_wing_repair by Robin Martin, on Flickr
 rear_wing_fitted1 by Robin Martin, on Flickr
 rear_wing_fitted2 by Robin Martin, on Flickr
 ra
ra
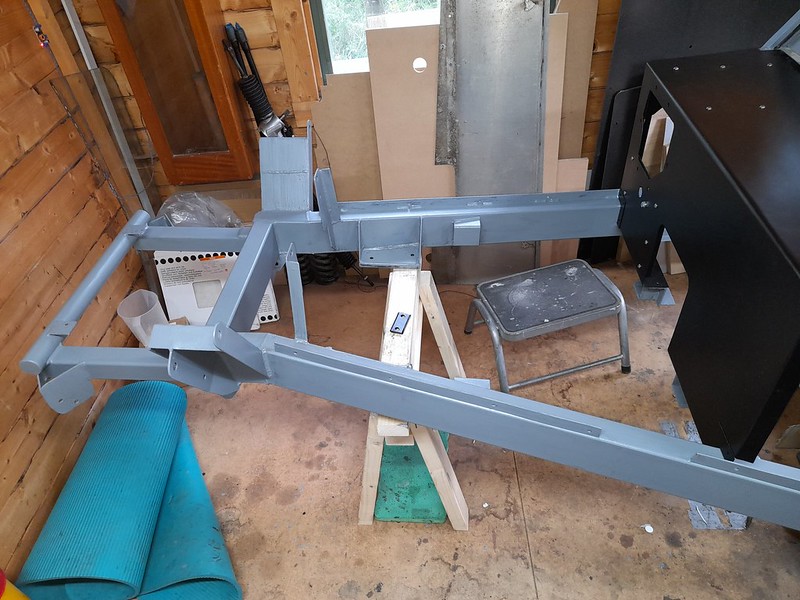 chassis_in_primer by Robin Martin, on Flickr
 rear_wings_clean by Robin Martin, on Flickr
 rear_wing_bodge by Robin Martin, on Flickr
 hub_before by Robin Martin, on Flickr
 hub_and_spacer by Robin Martin, on Flickr
 front_suspension1 by Robin Martin, on Flickr
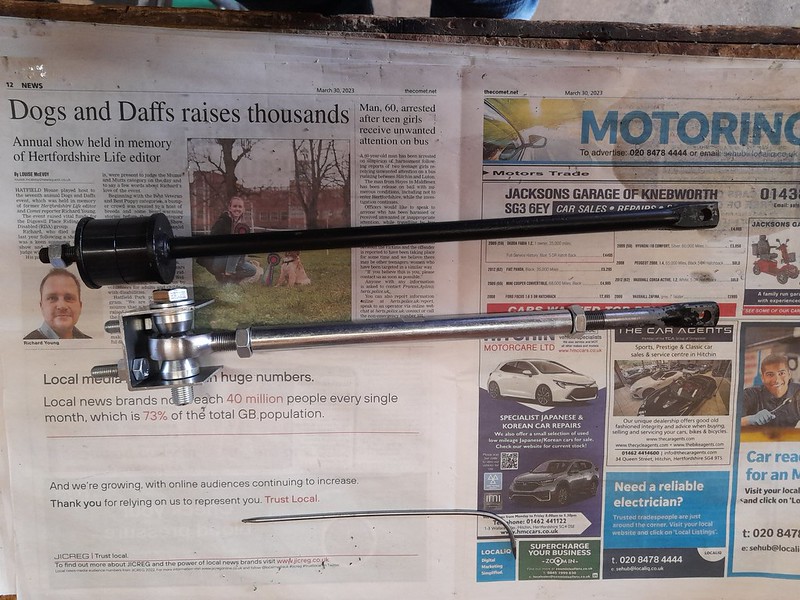 tie_bar1 by Robin Martin, on Flickr
 tie_bar2 by Robin Martin, on Flickr
 modified_die_holder by Robin Martin, on Flickr
 die_holder_use by Robin Martin, on Flickr


Leave a comment: